Bricked SSD or NVMe: symptoms and safe next steps
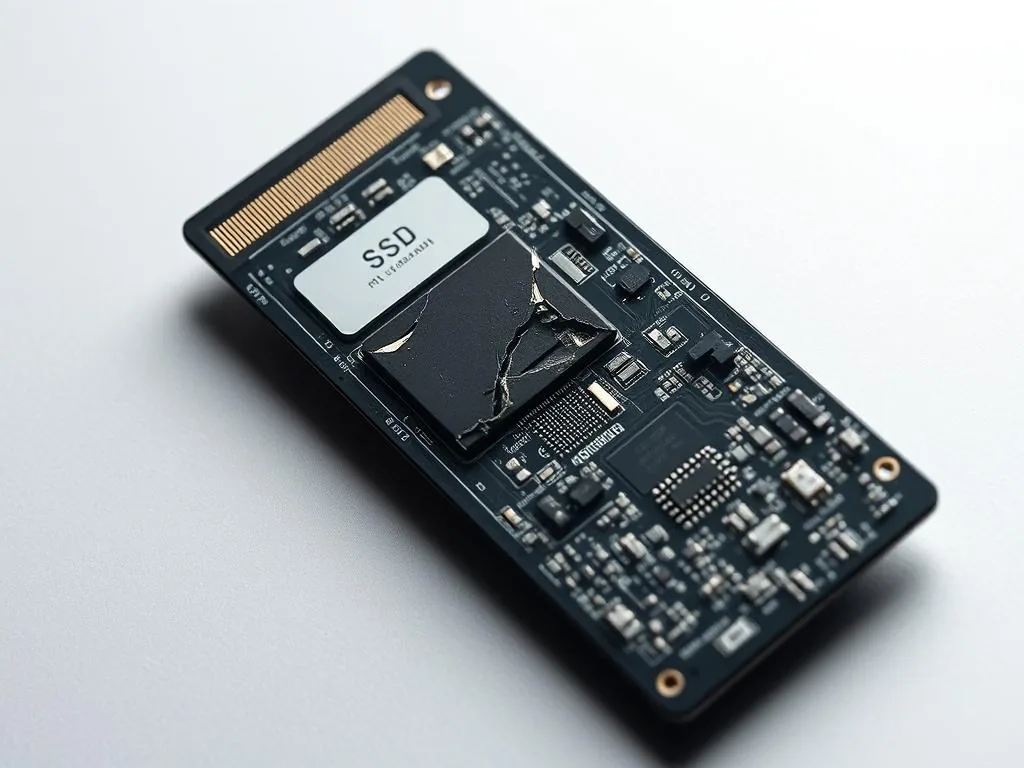
A bricked SSD is not just a drive with missing files. In a Warsaw office, a student laptop or an expat's work notebook, it may stop appearing in BIOS, show the wrong capacity, freeze the computer during detection, or appear for a few seconds and disappear. For NVMe drives in modern laptops, that can happen after a power event, firmware failure, overheating or an aggressive recovery attempt.
Because SSDs hide data behind a controller, firmware and NAND mapping layer, the safest next step is different from a classic HDD case. You are not only protecting files. You are protecting the translation information that tells the controller where those files live.
What “brick” means for SSD and NVMe
A bricked drive behaves more like an unresponsive device than a normal disk with a damaged file system. It may not identify itself correctly, may report 0 GB, may hang the boot process, or may appear under a generic controller name instead of the real model.
Soft brick and hard brick
A soft brick can sometimes still identify, accept limited commands or expose enough information for controlled work. A hard brick may not initialise the controller at all. The difference matters because repeated power cycles can move a marginal case from unstable to completely silent.
- Soft brick means the SSD sometimes still identifies, but it is unstable, disappears under load or responds only for a short time.
- Hard brick means no communication, no identification or no response even after changing the computer, port and power source.
Symptoms you should not ignore
- SSD or NVMe not detected in BIOS/UEFI.
- Wrong capacity, 0 bytes, "no media" or a generic controller name.
- Computer freezes during POST or when the drive is attached.
- Copying stops on the same files, sectors or folders.
- The device heats up strongly even during a short read attempt.
- Recovery software sees the disk once, then loses it or cannot start scanning.
Why NVMe cases are especially sensitive
NVMe drives communicate directly over PCIe and often run hot. A marginal controller, damaged firmware state or unstable NAND can react badly to long scans, firmware updates or repeated adapter tests. Laptop models with soldered storage add another layer: the device may need board-level diagnostics before data access is possible.
What usually causes bricking
Common triggers include power loss during writes, failed firmware update, controller degradation, NAND wear, overheating, liquid damage, short circuit, bad adapter use or previous recovery scans that kept the drive under load for hours.
What not to do after the drive disappears
- Do not flash random firmware from the internet.
- Do not keep hard-resetting the computer to “catch” the drive for a moment.
- Do not initialise, format or create a new volume if the disk briefly appears.
- Do not run long surface scans on a device that disconnects.
- Do not move an NVMe drive through multiple cheap USB adapters as a diagnostic method.
What you can check safely
Record the model, symptoms, BIOS behaviour and whether the drive appears in another known-good slot or enclosure. One controlled check is enough. If the drive behaves differently each time or disappears under load, stop testing and preserve the current state.
- Disconnect the device if it freezes the system or heats up quickly.
- Write down the model, connector type and last symptoms before detection was lost.
- Check only basics: another port, cable, power supply or known-good adapter, without a long scan.
- If the disk appears for a moment, do not start with a full scan. Decide which data matters first.
- If the device reports 0 GB or "no media", stop home attempts and ask for advice.
How lab diagnosis differs from software recovery
Software assumes the drive can be read like a normal block device. Lab diagnosis starts earlier: power behaviour, controller response, firmware state, NAND access and the possibility of controlled imaging. In some cases, the file system is not the first problem; the device must be stabilised before any file recovery can begin.
When to contact a laboratory
Contact a lab if the SSD or NVMe contains the only copy of work files, photos, accounting, VM images or business documents and the drive no longer detects reliably. Include the model, laptop or motherboard, any adapter used, the last event before failure and whether BitLocker, FileVault or another encryption layer was enabled.
If you want to compare this case with other storage failures, see the differences between SSD/NVMe and HDD recovery, the guide on TRIM and deleted SSD files, and the main SSD/NVMe data recovery service.
If the drive disappears, returns as 0 GB, freezes the system or heats up quickly, the safest next step is to stop and describe the symptoms to a technician. For local intake, see data recovery in Warsaw; for budget planning, see data recovery pricing.
Stop attempts before the SSD disappears for good
First secure the device. The point is to keep the controller state unchanged long enough to decide whether controlled diagnosis is still possible.
- Do not format or initialize the device.
- Do not run another scanner "just to try".
- Write down symptoms, drive model and the last event before failure.
Short answer
If an SSD or NVMe stops identifying, avoid firmware experiments and repeated scans. Describe the symptoms while the controller state is still unchanged.